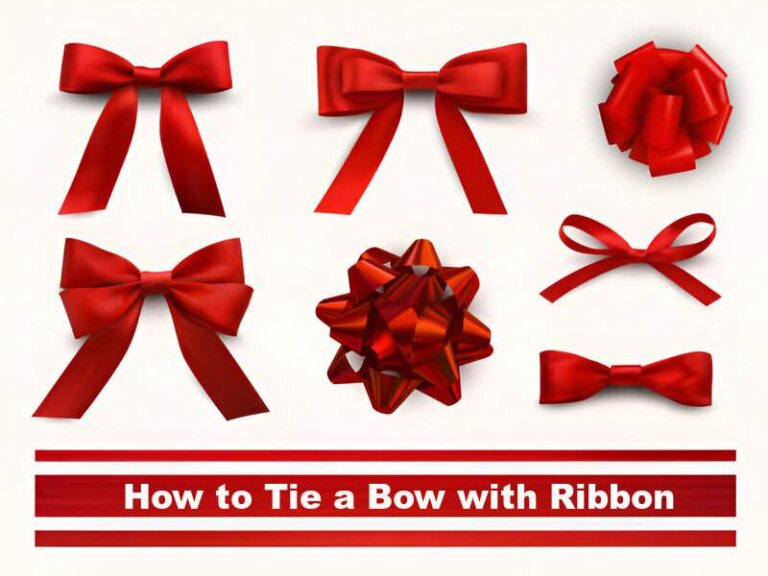
Bows, those delightful loops of ribbon, have a magical way of transforming the ordinary into the extraordinary. Whether you’re making a Corsage, gracing a gift box, adorning a wreath, or embellishing a dress, knowing how to tie a perfect bow is a valuable skill.
In this comprehensive guide, we’ll unravel the secrets of bow-tying, exploring various types of bows and providing step-by-step instructions. So grab your favorite ribbon, and let’s dive into the world of knots and loops!
The Magic of Ribbons
Ribbons are like fancy, colorful strips of fabric. They can be satin, which is elegant, or grosgrain, which has a rustic feel. Some ribbons are velvet and feel luxurious, while others are organza and shimmer like dreams.
When you make a bow, the type of ribbon you choose sets the mood. Think about the occasion and what you want to express! 🎀
Types of Bows
Before we delve into the nitty-gritty of bow-tying, let’s familiarize ourselves with the various types of bows we’ll cover in this guide:
1. Classic Bow: The classic bow is the go-to choice for gift wrapping. It’s simple, elegant, and timeless. Whether you’re wrapping a birthday present or a holiday gift, mastering this bow will make your packages look professionally done.
2. Floral Bow: Floral arrangements, wreaths, and garlands come alive with a well-crafted floral bow.
3. Fashion Bow: Fashion bows aren’t just for little girls’ hair accessories. They’re also perfect for embellishing clothing, hats, and even shoes.
4. Decorative Bow: When it comes to home decor, decorative bows steal the show. Whether you’re decorating your Christmas tree, adorning a staircase railing, or adding a finishing touch to a centerpiece, these bows are versatile and eye-catching.
Bow Designs:
Beyond the basic types of bows, there’s a whole world of creative bow designs to explore! Here are a few popular options:
1. Layered Bow: Take your classic bow to the next level by layering two or more bows on top of each other. This creates a more full and luxurious look.
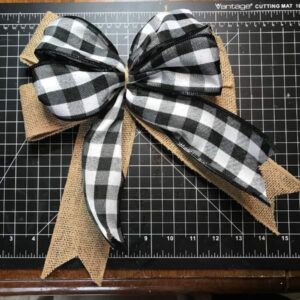
2. Bi-Colored Bow: For a playful touch, try a bi-colored bow made with two different colors of ribbon.
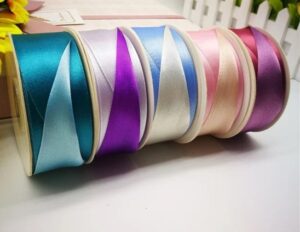
3. Dior Bow: Add a touch of elegance with a Dior bow, named after the fashion designer. It has short, pointed loops and a wide center.
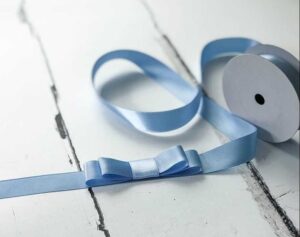
4. Flower Bow: This delightful design resembles a flower, with multiple loops that are fanned out to create a blooming effect.
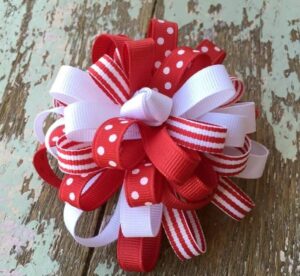
5. Mums Bow: Similar to the pom-pom bow, but with multiple loops gathered together for a fuller look.
Materials Needed
Before we start tying bows, gather the following materials:
- Ribbon: Choose a ribbon that suits your purpose. Satin, grosgrain, velvet, or organza—pick the one that complements your project.
- Scissors: A sharp pair of scissors ensures clean cuts.
- Wire or Twist Tie: You’ll need this to secure your bow.
- Optional Embellishments: Beads, pearls, or faux flowers can enhance your bow’s charm.
Step-by-Step Tutorials
Let’s dive into the practical part! Follow these step-by-step instructions to create beautiful bows:
How to Tie Classic Bow for Gift Boxes
- Cut a piece of ribbon approximately 24 inches long.
- Form a loop with the left side of the ribbon.
- Create a second loop on the right side.
- Cross the loops over each other.
- Tie the two loops together to form a bow.
- Tighten the bow and adjust the loops and tails. Voilà! Your classic gift bow is ready.
How to Make Floral Bow for Wreaths
- Cut a longer piece of ribbon (around 36 inches).
- Form two equal loops with about 12 inches of ribbon between them.
- Cross the right loop over the left.
- Knot the loops by pushing the right loop behind the left, under, and through the hole.
- Pull the knot tight and adjust the loops and tails. Your wreath now has a charming floral bow.
How to Tie Fashion Bow for Clothing
- Choose a narrower ribbon (about 18 inches long).
- Create a loop with one end.
- Make a second loop on the other end.
- Cross the loops and tie them together.
- Adjust the loops and tails for a neat look. Now your outfit is runway-ready!
How to Make Decorative Bow for Home Projects
- Use a wide, textured ribbon (approximately 30 inches long).
- Create multiple loops (at least four) by folding the ribbon back and forth.
- Secure the loops in the center with wire or twist ties.
- Fluff out the loops to create a full, voluminous bow. Perfect for wreaths, garlands, and centerpieces.
Tips and Tricks
- Bow Size: Consider the size of the item you’re decorating. Larger items may require bigger bows.
- Tails: Trim the ends of the ribbon to create elegant tails.
- Practice Makes Perfect: Experiment with different ribbons and techniques. The more you practice, the better your bows will turn out.
Conclusion
In this guide, we’ve explored the art of bow-tying—from classic gift bows to decorative home bows. Now it’s your turn! Grab your favorite ribbon, follow our instructions, and create bows that add a touch of elegance and charm to your world. Don’t forget to share

